
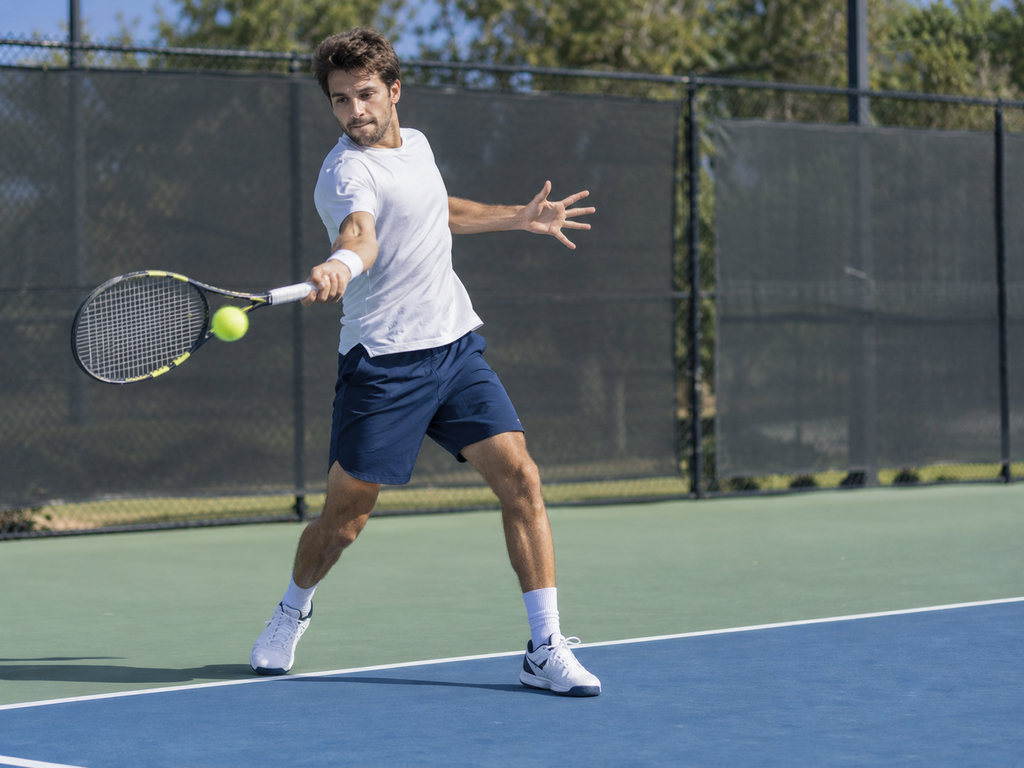
Good tennis shot placement allows players to control where the ball lands instead of simply hitting it back across the net. At the intermediate level, learning to direct groundstrokes toward specific areas of the court can make rallies more effective, create opportunities to attack, and reduce unnecessary errors.
Improving tennis shot placement requires an understanding of directional control, shot depth, contact timing, and appropriate target selection. By practicing these elements together, you can develop more reliable groundstrokes and make better use of the available court without relying entirely on power.
What Is Shot Placement in Tennis?
Shot placement refers to the ability to direct the ball toward an intended area of the opponent’s court.
It involves controlling two important elements:
- Direction: Whether the ball travels crosscourt, down the line, or toward a central target.
- Depth: How far the ball travels beyond the net before bouncing.
These elements work together to determine the effectiveness of a groundstroke.
A shot directed toward the sideline may move an opponent laterally, while a deep shot can make it more difficult for them to move forward and attack.
However, effective placement does not always require aiming close to the court boundaries.
Intermediate players often benefit from selecting larger target areas that provide useful margins while still influencing the rally.
The goal is to hit the ball where you intend with enough reliability to use that placement during actual points.
Why Shot Direction and Depth Matter
Players sometimes focus on hitting harder when they want to improve their groundstrokes.
Although additional pace can be useful, accurate placement often provides a more manageable way to influence the direction of a rally.
Direction Creates Movement
Changing shot direction can require an opponent to cover a different area of the court.
For example, a controlled crosscourt forehand can move an opponent toward a sideline. A subsequent shot toward another area may force the opponent to change direction.
The effectiveness of this movement depends on the opponent’s position, the quality of your shot, and the time available to respond.
Depth Influences Court Position
Deep groundstrokes can keep an opponent near or behind the baseline.
Shorter balls may allow them to move inside the court and contact the ball earlier.
Learning to control depth helps you avoid unintentionally giving an opponent an attacking opportunity.
Placement Can Reduce Unnecessary Risk
A powerful shot aimed close to a line may be difficult to execute consistently.
A moderately paced shot directed toward a generous target area can still be effective when it creates movement or maintains depth.
Developing this balance allows intermediate players to make more deliberate choices without sacrificing reliability.
How to Control Shot Direction in Tennis
Directional control involves coordinating your preparation, contact point, racket path, and intended target.
It is not simply a matter of pointing the racket toward where you want the ball to go.
Choose Your Target Before Contact
Decide on your intended direction early enough to prepare an appropriate stroke.
For example, if you receive a manageable forehand and intend to hit crosscourt, establish the necessary spacing and organize your swing before the ball reaches your contact zone.
Avoid waiting until the last instant to choose a target.
Late decisions can lead to rushed adjustments and inconsistent racket control.
Maintain a Suitable Contact Point
Your contact point affects how easily you can direct the ball.
A contact position that is appropriate for one directional target may differ slightly from another.
However, there is no universal rule that every crosscourt or down-the-line shot must use one exact contact point. Grip, stance, stroke mechanics, incoming ball speed, and the intended trajectory all influence contact.
The objective is to develop controlled contact for each direction without making exaggerated changes to your normal technique.
Control the Racket Face
The orientation of the racket face at impact is a major factor in the ball’s initial direction.
Small differences in racket-face angle can produce noticeable changes in where the ball travels.
Maintain a stable, coordinated swing rather than attempting to steer the racket abruptly at the last moment.
A reliable directional adjustment should feel like part of the stroke, not a separate movement added at contact.
Use a Repeatable Swing Path
Your racket path contributes to both the direction and trajectory of the shot.
Practice directing the racket through the hitting zone in a controlled manner while maintaining your normal stroke mechanics.
Avoid making unusually large changes to your swing when switching targets.
The more repeatable your motion becomes, the easier it is to identify which adjustments produce the desired placement.
Crosscourt vs. Down-the-Line Shot Placement
Crosscourt and down-the-line shots are two important directional options during baseline play.
Each offers different opportunities and risks.
Crosscourt Groundstrokes
A crosscourt shot travels diagonally across the court toward the opposite side.
Crosscourt groundstrokes are often useful during neutral rallies because the diagonal distance provides additional space, and the net is lower near the center than at the posts.
This can allow greater margin for error when the shot is executed appropriately.
When to practice crosscourt placement:
- During controlled baseline rallies.
- When maintaining a reliable exchange.
- When directing the ball away from an opponent’s central position.
- When developing directional consistency on forehands and backhands.
Begin by aiming toward a broad crosscourt area rather than the sideline.
Down-the-Line Groundstrokes
A down-the-line shot travels more directly along the same side of the court.
This direction can be effective when you want to redirect the ball or take advantage of available court space.
However, a down-the-line shot generally travels a shorter distance than a comparable crosscourt shot and may require more precise control.
It also changes the likely return angles, making recovery positioning important.
When to practice down-the-line placement:
- When receiving a manageable ball.
- When you have sufficient balance and preparation.
- When changing direction is appropriate.
- When developing confidence in both groundstroke directions.
Start with conservative targets comfortably inside the sideline.
How to Improve Shot Depth
Shot depth describes how far the ball travels into the opponent’s court before bouncing.
For many baseline exchanges, landing the ball beyond the service line and toward the back portion of the court is a useful objective.
However, the ideal depth depends on your intended shot and the rally situation.
Understand the Difference Between Short and Deep Balls
A short groundstroke may bounce around the service line or closer to the net.
If the opponent can move forward comfortably, this may create an attacking opportunity.
A deeper groundstroke can keep the opponent farther back and make it more difficult to step inside the baseline.
Neither result is automatically good or bad. A deliberately short angled shot may be useful, while an unintentionally short neutral ball can create problems.
The important skill is controlling depth according to your intention.
Adjust Your Shot Trajectory
Shot depth depends on several factors, including initial ball speed, launch angle, spin, and contact height.
A shot that travels with insufficient forward pace may land short.
A shot launched too high with excessive speed or insufficient spin may travel beyond the baseline.
Practice coordinating racket movement and trajectory to produce a suitable landing point.
Do not assume that increasing power is the only way to hit deeper.
Maintain Useful Net Clearance
Groundstrokes that pass extremely close to the net leave little vertical margin for error.
For many neutral shots, a comfortable amount of net clearance allows you to maintain control without repeatedly risking the tape.
The appropriate clearance varies with spin, pace, and the intended landing area.
Instead of selecting one fixed height for every shot, learn to recognize which trajectory produces reliable depth.
Avoid Aiming Directly at the Baseline
A ball landing very close to the baseline can be effective, but attempting to hit the line on every rally shot creates unnecessary risk.
Begin with a target zone that leaves room between the intended landing area and the baseline.
As accuracy improves, gradually narrow the target when the situation justifies it.
How to Combine Direction and Depth
Controlling direction and depth separately is useful during practice, but effective shot placement requires both.
A crosscourt shot that lands too short may allow an opponent to attack despite its direction.
Likewise, a deep shot that consistently travels toward an opponent’s preferred hitting position may not create much difficulty.
Combining direction and depth allows you to choose more purposeful targets.
Deep Crosscourt Placement
A deep crosscourt groundstroke can provide a useful combination of directional control and court depth.
It may encourage the opponent to move laterally while remaining near or behind the baseline.
For intermediate players, this is a practical target to develop during controlled rallies.
Deep Central Placement
A deep shot toward the central portion of the court can limit the angles available to the opponent, particularly when you are in a neutral or defensive position.
It may be less aggressive than a wide shot, but it can help avoid unnecessary directional risk.
Controlled Down-the-Line Placement
A down-the-line shot can redirect a rally when you receive a suitable ball.
To improve reliability, aim for a target inside the sideline and baseline rather than attempting a narrow corner.
The objective is deliberate redirection, not necessarily an immediate winner.
Short Angled Placement
A shorter angled shot can move an opponent forward and toward the sideline.
However, it requires a different combination of angle, pace, and trajectory from a routine deep groundstroke.
Intermediate players should develop basic direction and depth control before regularly attempting demanding short angles.
Detailed attacking patterns belong in more advanced strategy training.
Five Practical Tennis Shot Placement Drills
The following exercises develop directional accuracy, depth control, and the ability to select appropriate targets.
Drill 1: Crosscourt Target Practice
Objective: Improve crosscourt groundstroke accuracy.
Equipment: Tennis balls, cones or flat markers, and a practice partner.
Setup: Identify a broad target area in the crosscourt section of the opponent’s court.
Instructions:
- Begin a cooperative crosscourt rally.
- Aim each shot toward the designated target area.
- Maintain a manageable rally speed.
- Count successful target shots out of twenty attempts.
- Repeat on both the forehand and backhand sides.
Practice focus: Maintain directional control without sacrificing balance or natural stroke execution.
Begin with a large target area and gradually make it more demanding.
Drill 2: Down-the-Line Accuracy Drill
Objective: Develop reliable down-the-line placement.
Setup: Place markers inside the appropriate sideline to establish a safe target area.
Instructions:
- Have a partner feed moderately paced groundstrokes.
- Prepare early and establish a balanced hitting position.
- Direct the ball down the line toward the target.
- Record successful attempts out of ten.
- Repeat on both groundstroke sides.
Practice focus: Use controlled contact and a repeatable racket path.
Avoid attempting maximum pace while learning directional accuracy.
Drill 3: Deep Target Zone Challenge
Objective: Improve groundstroke depth.
Setup: Establish a target zone beyond the service line, leaving a comfortable margin before the baseline.
Instructions:
- Begin a controlled baseline rally.
- Aim to land each shot inside the designated deep area.
- Maintain a suitable trajectory and net clearance.
- Record successful target shots.
- Repeat in sets of ten or twenty attempts.
Practice focus: Learn how ball speed, launch angle, and spin affect landing depth.
If shots repeatedly fall short, review the ball’s trajectory and your forward racket acceleration rather than automatically swinging harder.
Drill 4: Alternating Direction Drill
Objective: Improve the ability to change shot direction deliberately.
Setup: Have a partner provide cooperative feeds to one groundstroke side.
Instructions:
- Direct the first ball crosscourt.
- Direct the next suitable ball down the line.
- Continue alternating between the two target areas.
- Maintain controlled swing mechanics.
- Complete two sets of ten shots.
Practice focus: Prepare for the intended direction before contact.
Begin with predictable feeds, then gradually introduce moderate variation.
Drill 5: Direction and Depth Combination Drill
Objective: Apply both placement elements during realistic rallies.
Setup: Mark a deep crosscourt target area and a separate deep central target area.
Instructions:
- Begin a controlled rally.
- Aim the first designated shot deep crosscourt.
- On the next suitable feed, aim deep toward the center.
- Continue alternating targets.
- Record the percentage of successful placements over twenty attempts.
Practice focus: Develop accuracy while maintaining appropriate shot depth.
As performance improves, allow your practice partner to vary ball position and speed.
Common Tennis Shot Placement Mistakes
Even players with reliable strokes can struggle to control where their shots land.
Aiming Too Close to Court Boundaries
Attempting to hit every shot near a sideline or baseline creates a small margin for error.
Correction: Use larger target areas during practice and increase precision gradually.
Changing Direction at the Last Moment
Late directional decisions can interfere with racket preparation and contact quality.
Correction: Recognize your intended target early enough to organize the stroke.
Confusing Power With Depth
Hitting harder does not automatically produce useful depth.
Excessive pace can send the ball long or make the stroke less controllable.
Correction: Practice adjusting trajectory and forward acceleration while maintaining suitable spin.
Using the Same Trajectory for Every Shot
Different target depths and directions may require different combinations of speed, spin, and launch angle.
Correction: Make controlled adjustments based on the incoming ball and intended landing area.
Ignoring the Quality of the Incoming Ball
A difficult, fast, or wide ball may not allow the same precision as a comfortable feed.
Correction: Choose targets according to your balance, preparation, and available time.
Practicing Placement Without Targets
Hitting balls repeatedly without a specific objective makes improvement difficult to measure.
Correction: Use marked target zones and record successful placements across practice sessions.
How to Measure Your Shot Placement Improvement
Tracking progress helps you determine whether your directional and depth control is becoming more reliable.
Target Accuracy Percentage
Choose a clearly defined target area and count how many shots land inside it.
For example, if fourteen out of twenty attempts reach the intended area, your target accuracy is 70%.
Use the same target size and similar feeding conditions when comparing results.
Directional Accuracy
Track crosscourt and down-the-line results separately.
You may discover that one direction is significantly more reliable on your forehand or backhand side.
This information can guide future practice.
Depth Consistency
Record how often your neutral groundstrokes reach the intended deep target zone.
Do not count a shot as successful simply because it remains inside the court if it misses the assigned depth objective.
Accuracy Under Movement
Once you develop control from predictable feeds, test your placement while moving.
Start with moderate lateral movement and progress toward less predictable feeds.
Compare the results with your stationary or cooperative-rally accuracy.
Placement During Practice Matches
Observe whether you can direct the ball toward intended areas during actual points.
Match conditions introduce pressure, variation, and less predictable incoming shots.
You may not achieve the same accuracy percentage as during controlled drills, but the objective is to apply your targeting skills appropriately.
Build a Practical Shot Placement Routine
A structured practice session helps you train direction and depth without trying to improve every element simultaneously.
Here is an example 35-minute session:
| Practice Activity | Duration |
|---|---|
| Warm-up and controlled groundstrokes | 5 minutes |
| Crosscourt target practice | 7 minutes |
| Down-the-line accuracy | 6 minutes |
| Depth control practice | 7 minutes |
| Combined direction and depth drills | 7 minutes |
| Review results and cool down | 3 minutes |
Adjust the session according to your available time, skill level, and physical readiness.
Use manageable feeds at first. Increase pace and variation only when you can maintain reasonable control.
Accuracy practice should reward deliberate placement rather than encourage players to hit every ball with maximum force.
Improve Your Tennis Shot Placement Through Purposeful Practice
Better tennis shot placement comes from learning to control direction and depth while maintaining reliable stroke mechanics.
Start with broad crosscourt and down-the-line targets. Develop the ability to direct groundstrokes toward these areas before attempting more demanding placements.
Then practice controlling depth and combining directional targets with different landing zones.
As your accuracy improves, introduce moving feeds and match-like situations that require you to select appropriate targets under pressure.
By developing tennis shot placement through structured practice, intermediate players can produce more purposeful groundstrokes, reduce unnecessary targeting errors, and make better use of the available court.